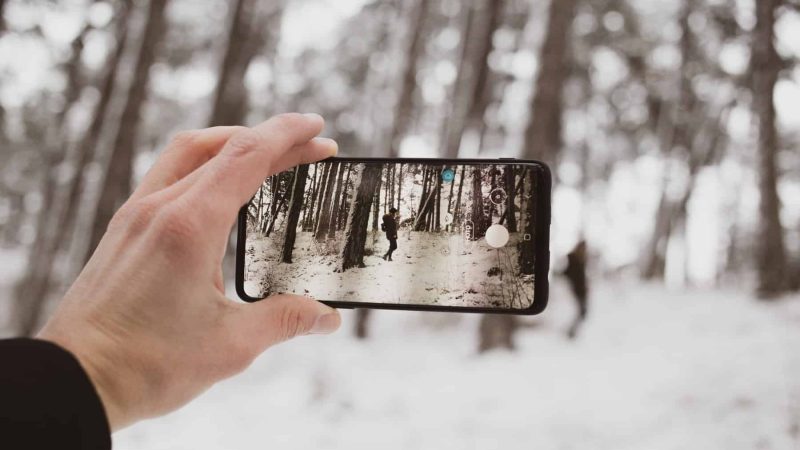
Just as we have good days and bad days in our everyday life, there are also on and off days in mobile photography. Taking pictures in the streets, portraits or even headshots is a dream when you have the best lighting. But some days the light is so awful. This blog post is to show you how to make the most of every lighting situation. From natural light (direct sunlight) to a combination of both natural and artificial light or even just artificial lighting.
Natural Lighting (Sunlight)
Taking photos in direct sunlight often creates unappealing images. Apart from the shadows, harsh lighting often blows out the highlights of your image.
Look for shade: Taking pictures under the cover of trees or a building allows you to limit the harsh light hitting your subject.
Pro-tip: If you have to shoot out in the open, do it before or after 12pm. Because it’s during this time when the sun is the highest (and harshest) in the sky. Wait until it starts to come back down, so it shines on your subject at a better angle.
Cloudy Moments
What happens when the sun, your giant natural light source, is covered by clouds? You may not expect this, but cloudy days are perfect for shooting portraits. Why? Because the clouds block direct sunlight. By diffusing the light, it creates a soft and even exposure. As a result, your pictures will often look as if they were taken in a studio. The best light for photos during a cloudy day is when the sun is still high in the sky.
Window Lighting
When you’re indoors, the best lighting for pictures is by the window. Windows block the sun from hitting your subject directly, and help diffuse some of that light. Remember that results vary depending on how much light is hitting the window. Depending on how much light is coming through the window, you might want to pad the back of your phone’s camera with a paper towel folded in four to help dampen the effect of the light.
Artificial lighting
There are situations where you need to take your photos indoors and you have various options to make sure that you can take the best pictures, with the lights around you.
Most people use fluorescent, incandescent, and even neon lights indoors. Every light source has a different color temperature. These can be helpful in establishing different moods in your photos. If you want clean, studio-like images, then consider using fluorescent lights. Since they emit white light, they tend to make photos look cool and bright. If you’re going to shoot vibrant images, then try incandescent lights. The warm color they produce can simulate the sun, and thus produce dynamic results. And for a futuristic look? Neon lights will offer the best lighting if you’re going for that style. The vivid colors they produce not only look out of this world, but they also make your subject glow.
Your Phone’s Flash
Your phone will take a pretty decent photos in dimly lit conditions. But what if you find yourself in dark, isolated locations with no light source nearby at all? When possible, try not to use your own phone’s flash to illuminate your subject. It often produces flat images. Instead, ask a friend to use their phone’s flash and light up your model from the side. That way, the person you’re photographing won’t look like a deer in the headlights. You don’t always get to choose the type of lighting you have when taking photos on your phone, so keep in mind these simple tips and tricks. They’ll help you improve your mobile photography and get the best lighting each time.
Ring Lights
Using ring lights can help improve your photos since they allow for the phone to be placed in the middle of the light that is evenly distributed. To make even better shots, add a soft light behind your subject to help make your subject pop better.
Don’t forget that ringlights come with an adjustment switch that will allow you to switch between three color temperatures that mimic fluorescent, incandescent, and neon light modes. You can also adjust the brightness of the light to make sure that you get the best results.

